Contents
When shopping online, the wishlist is a important as the cart, maybe more important. The function of the wishlist is to store the items that the customers/visitors want to have but don’t or can’t purchase at the moment. Woocommerce is a great tool to get your online store up and running but it doesn’t come with a wishlist button built-in. Further more, if you want to use the wishlist solution from WooCommerce’s developer, you need to pay for their plugin. Well, if all you need is a tool that:
- Allows you to add a Wishlist button to your product page
- Displays the wishlist of the shop visitor
- Has no limit on how many products your visitors can add to the wishlist
Then a free solution like YITH wishlist plugin is the right choice for you.
How to download YITH wishlist plugin
The plugin is freely available at WordPress.org here. You can also download it from your admin dashboard.
How to use the YITH wishlist plugin to create your own wishlist
Upon activation, the plugin will create a wishlist button for you. As you can see in the image below, the link called “Add to wishlist” was added to my product page by YITH Wishlist plugin. The link is not fancy but surely it does the job. When you click on that link, that product will be added to the wishlist and there is a link for you to view the current wishlist. Notice that in the free version, there is only one wishlist available. If you want to have multiple wishlists for your visitors, consider upgrading to the pro version.
Now, the plugin is fully functional at this moment. If you are happy with the current result, you can stop here. However, there are some valuable customization you can make the improve the experience much more.
Customizing YITH wishlist plugin
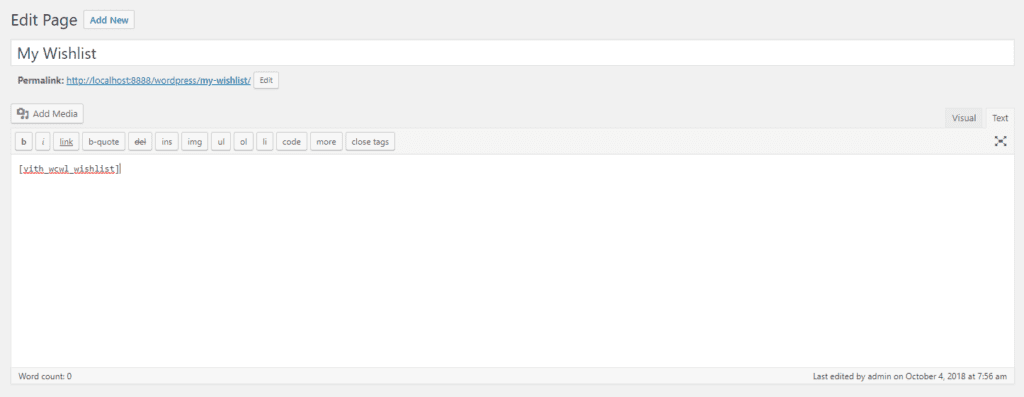
We will start with by how to change your wishlist page. By default, YITH Wishlist Plugin will create a page for you. However, you can create a new page and set it to the wishlist page if you need too. In order to do that, first, create a page with the following content:
[yith_wcwl_wishlist]
As in my case, I created a page (not post) called My Wishlist:
After that, we need to go to YITH plugins->Wishlist (in your dashboard). You will see a section called Wishlist Page. Clicking on the select box to select the page you created with the wishlist shortcode above ([yith_wcwl_wishlist]).
The next time your visitors view their wishlist, they will see that page.
As you can see, creating a wishlist button/page for your Woocommerce store is not hard at all. YITH wishlist plugin offers basic functionalities that fit most of store owner. If you want to improve the wishlist experience further, you may consider getting your hand dirty with CSS/Javascript or hire a developer to customize the look and feel of the button and the wishlist page.