Contents
Installing WordPress themes, plugins seems to be a simple task, even for beginner. However, due to the fact that there are many hosting providers out there and each of them have a different configuration, installing a new theme or plugin on your WordPress may not be straightforward.
Most of the time, you can install a theme or plugin by uploading the .zip file inside your site dashboard.
To install a plugin you may follow the following steps:
- Go to Plugins->Add New
- Click on Upload Plugin
- Select your plugin .zip file and click on Install now
- Wait for the installation process to complete and click on Activate Plugin
The same steps can be applied to installing a theme, though, there are some differences:
- Go to Appearance->Themes
- Click on Add new
- Click on Upload Theme
- Select your theme .zip file and click on Install now
- Wait for the installation process to complete and click on Activate Theme
However, there is a very common problem WordPress users have when using this method is the hosting provider may put a limit on file upload size, which, less than the size of the plugin’s or theme’s zip file.
For example, your host has a 2MB limit on file upload and your theme zip file is 3MB.
In this case, uploading the theme inside your dashboard will result in a failure.
Fortunately, if your host have CPanel, you can install the plugin/theme easily.
How to install WordPress plugins/themes using CPanel
What are the benefits of installing plugins, themes using CPanel?
The biggest benefit is you don’t have to worry about upload file limit. Secondly, you can upload a zip file and then extract in on your site later. This feature can save you a lot of time in comparison to using FTP. When uploading the plugins/themes via FTP, you cannot upload a zip file then upload in the FTP client. If you install the plugin/theme using FTP, you need to extract it first before uploading. If your theme/plugin has a lot of files (even though they may be small), you will have to wait for a very long time.
Now let’s get started with installing plugins/themes using CPanel
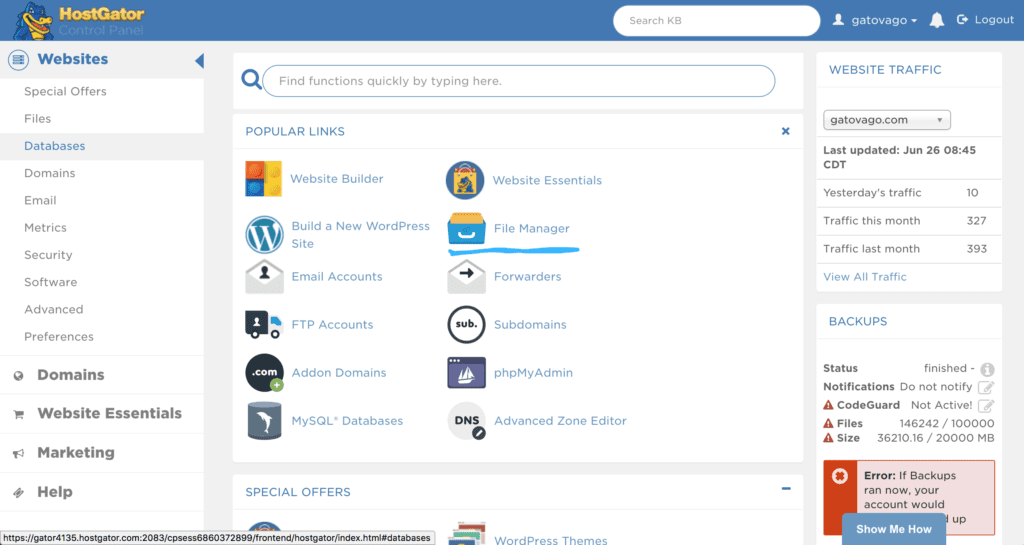
Step 1: Login to your CPanel
The first thing is to to login to your CPanel. In the image below, I’m in HostGator CPanel. Your CPanel dashboard may look a bit different if your CPanel version is different than mine. However, you will have no problem finding File Manager. You can press Ctrl + F ( or Command + F if you are on a Mac) and type in “File Manager” to locate it.
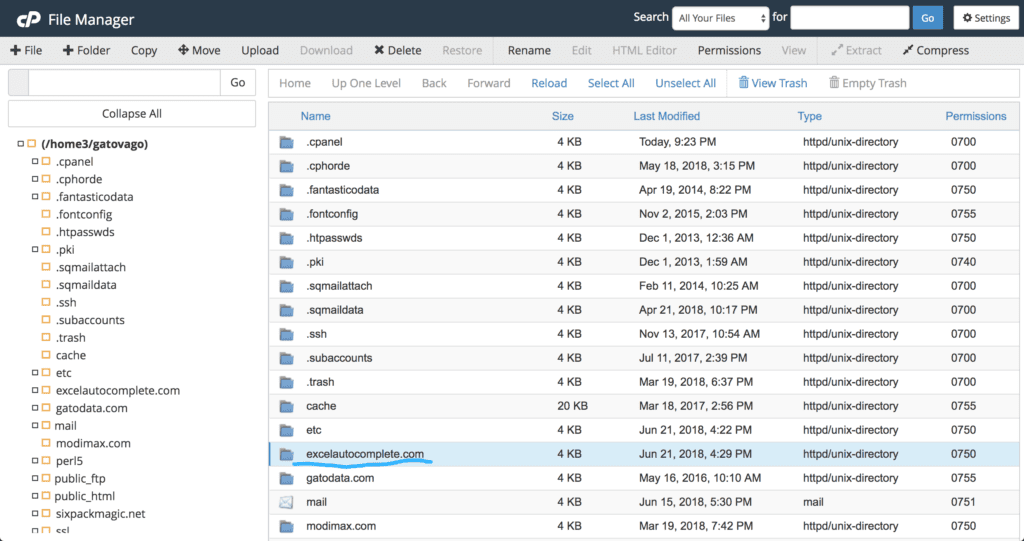
Step 2: Go to File Manager and locate your site’s folder
Your site’s folder usually have the same name as your domain name. In the picture below, I’m going to the folder of my site called excelautocomplete.com
Step 3: Go to wp-content/plugins or wp-content/themes
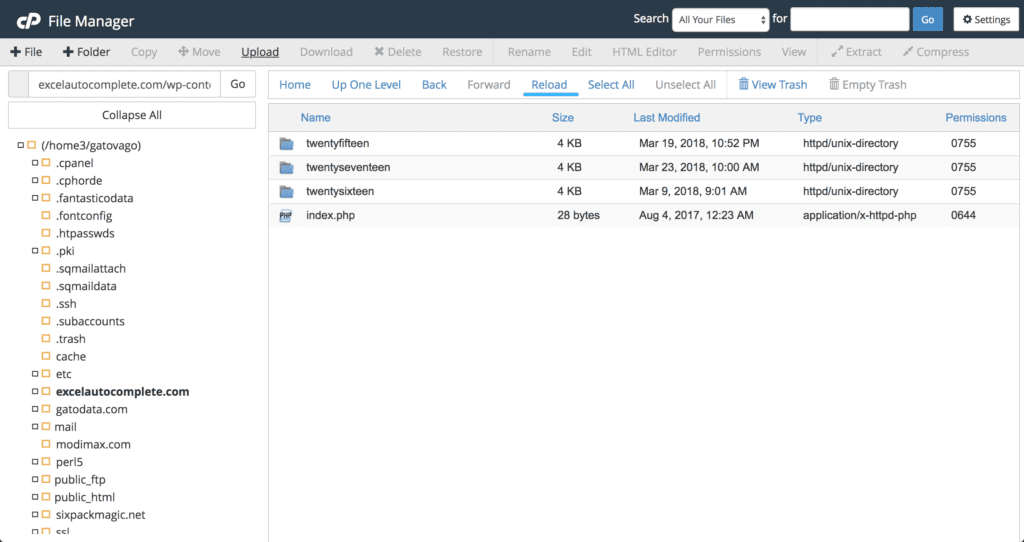
Now, if you double click on your site’s folder, you will see something similar to this. There are many files and folders but you only need to pay attention to one folder called wp-content

Double click on that folder you will see a list of folders. Here, you will see two folders with the following names:
- themes
- plugins
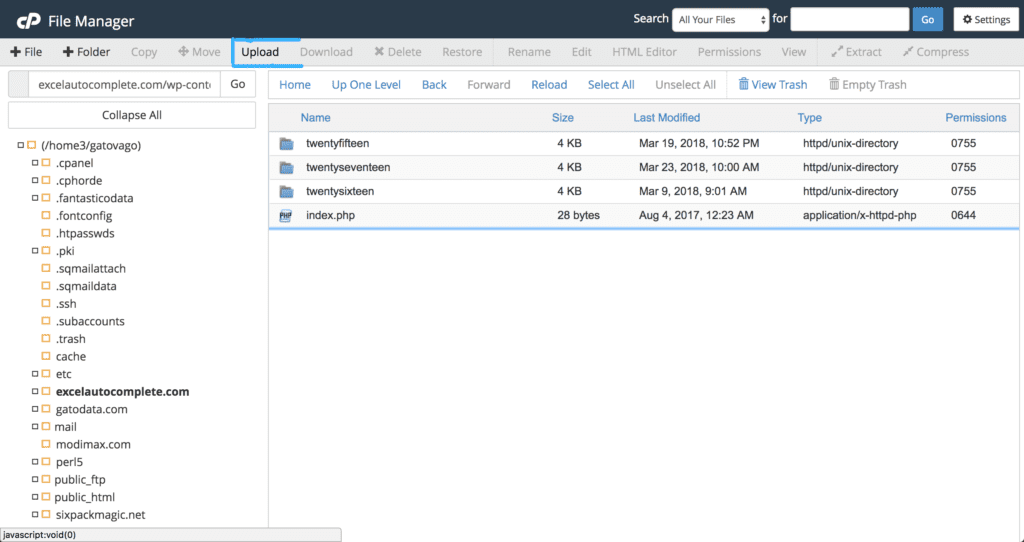
The names of those folders are self-explanatory. If you want to install a plugin, click on plugins folder. If you want to install a theme, click on themes folder. I’m going to install a theme so I’m going to click on the themes folder. You will see that there are one or more folders inside. The number of folders inside themes/plugins folder depends on the number of themes/plugin you have.

Step 4: Upload your zip file
Now, I’m inside the themes folder. I can start uploading the theme zip file. Please make sure your theme is in a zip file. If you have extracted it to a folder, please compress it back to a zip file.
Now, click on the upload button in your CPanel
You will see a new tab opened:

Now, select your theme .zip file and wait until the upload complete:
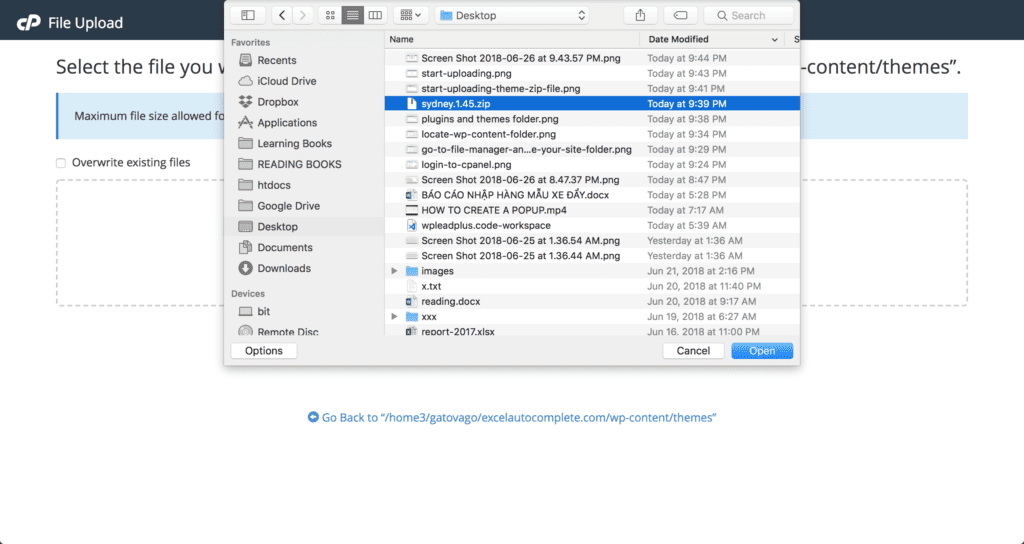
In this example, I’m select the theme sydney.
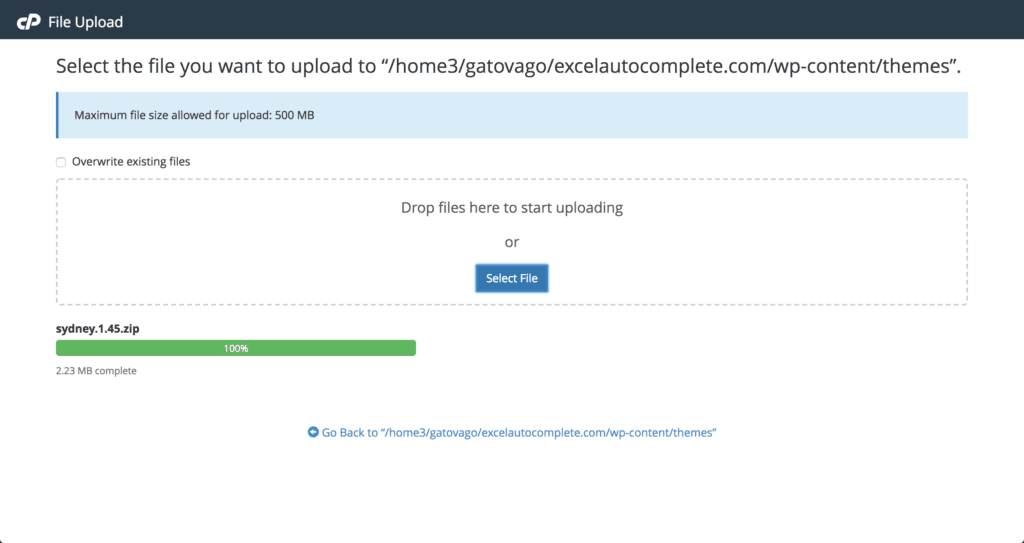
The upload is complete. Now, we go back to the theme folder and hit reload button to see the zip file:
After that, you should see the zip file appears
![[With Pictures] How To Install WordPress Themes, Plugins In CPanel Step By Step 11](https://binarycarpenter.com/wp-content/uploads/2018/06/see-the-zip-file-1024x543.png)
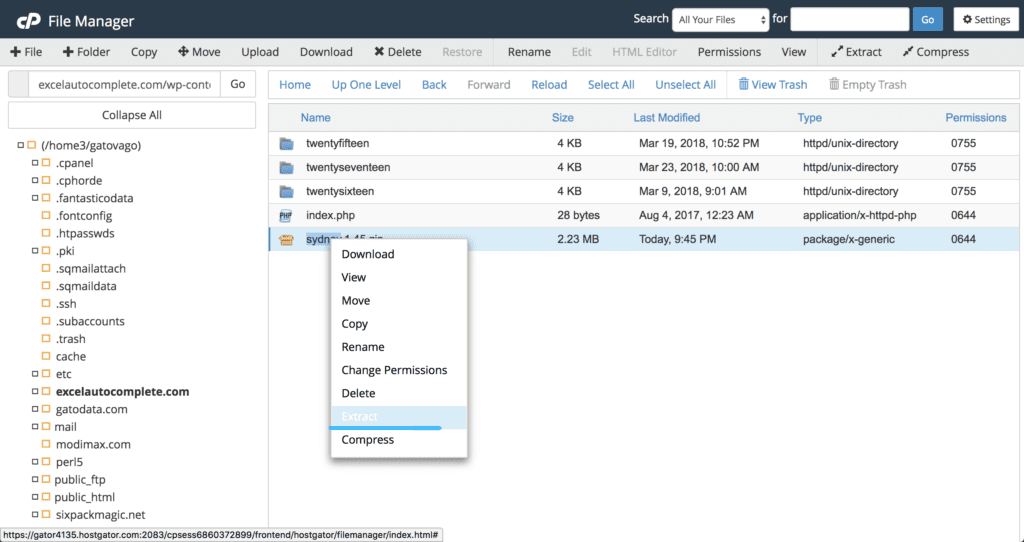
Step 6: Extract your zip file
We can now right click on the zip file to see the context menu and select the option to extract the file.
![[With Pictures] How To Install WordPress Themes, Plugins In CPanel Step By Step 12](https://binarycarpenter.com/wp-content/uploads/2018/06/extracting-1024x545.png)
![[With Pictures] How To Install WordPress Themes, Plugins In CPanel Step By Step 13](https://binarycarpenter.com/wp-content/uploads/2018/06/close-extraction-window-1024x546.png)
Wait until the decompression completes, now, if you click on the reload link, you will see your new theme folder appears:
![[With Pictures] How To Install WordPress Themes, Plugins In CPanel Step By Step 14](https://binarycarpenter.com/wp-content/uploads/2018/06/new-theme-folder-1024x544.png)
You can (and should) delete the zip file. To do that, simply click on that file (single click) and select the delete action at the top.
Step 7: Go to your site’s dashboard to activate the plugin/theme
Now, your theme is installed. The last thing to do is to go to your dashboard and activate it. Go to Appearance->Themes. You will see the new theme appears:
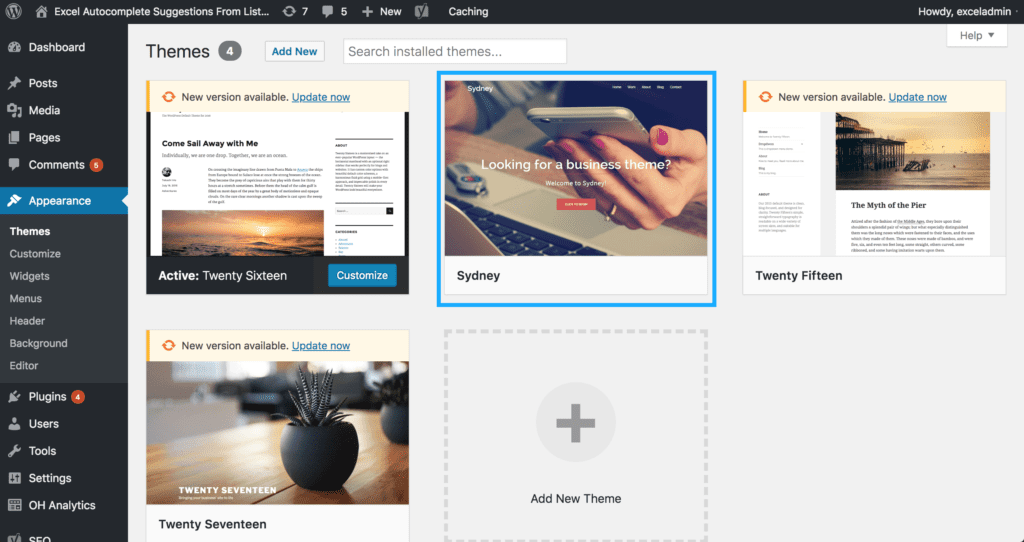
You can hover on that theme and see the option to activate it:
![[With Pictures] How To Install WordPress Themes, Plugins In CPanel Step By Step 15](https://binarycarpenter.com/wp-content/uploads/2018/06/option-to-activate-the-theme-1024x543.png)
Now, you have your new theme installed and activated. You can do the same with a plugin. However, instead of going to Appearance->Themes, you need to click on Plugins and find the new plugin in your list of plugins and click on Activate.
So, that’s how you install plugins/themes using CPanel. If you have any questions, please leave a comment below.
Thanks for reading!